Tuesday, September 24, 2013

Homeschooling: CC - Cycle 2 - Weeks 4, 5, and 6

I am late posting what we did for weeks 4 and 5. We have a busy week and weekend ahead of us, so here is what we've been doing and what we have planned for the week.

History
Week 4:
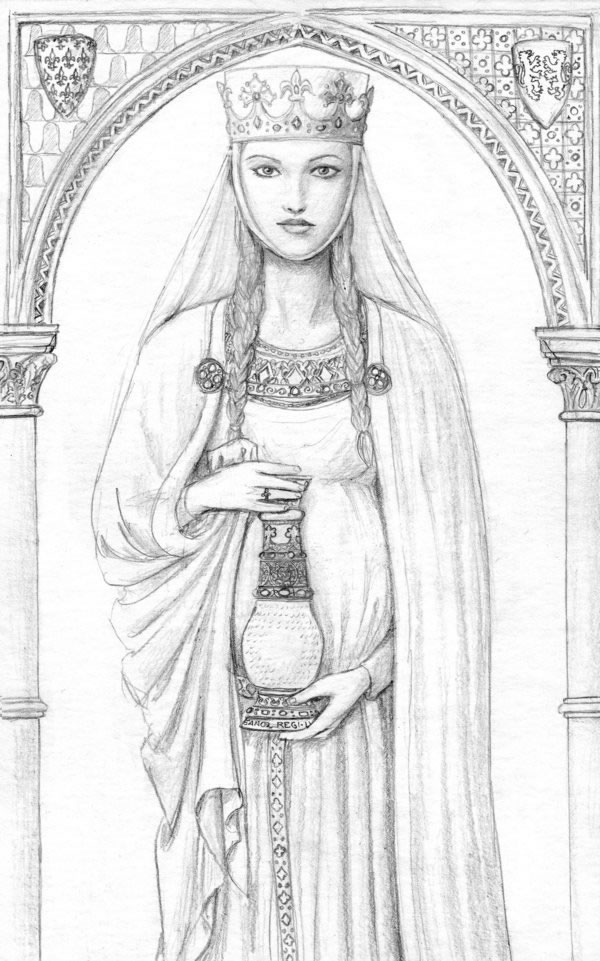
The Magna Carta and the Hundred Years War. Blaine colored while I read.

Week 5:
The Hundred Years' War, Joan of Arc, and the Plague (age appropriate discussions with some sword fighting play involved).


Week 6:
The Renaissance!  Specifically, we are learning about Shakespeare, daVinci,  Copernicus, and Michelangelo.  I plan on elaborating a little on each of them throughout the week and coloring these as we go.


I'm going to show Blaine this virtual tour of the Sistine Chapel. Something fun that I am planning on doing is taping some paper to the bottom of our junior size table and laying on our backs to draw and color.

Geography: More puzzles!
Week 4:
European Rivers (printable)


Week 5:
European Cities (printable)


Week 6:
European Mountains (printable)


English: Cut and paste activities each week.
Week 4:
Nominative Pronouns


Week 5:
Objective Pronouns
<temporarily down>

Week 6:
Possessive Pronouns


Art
Week 4:
Abstract art. We classified things into 2 categories. Real or abstract. Obviously there are more categories than these 2, but for a 4 year old, these 2 will do for now. We took a field trip for a lunch date to see my oldest friend, Martine, and check out some artwork in both her condo and her gallery.
Blaine said this one was his favorite.

Week 5: Perspective
I made this cut and paste and we talked about horizons, vanishing points, and shadows.  We put the people on the sidewalk appropriately and shaded where their shadows would be according to the sun's position.

Week 6: Final Project Week
We combined the last 5 weeks of our fine arts skills and with his tutor's leadership, Blaine drew this owl mom and baby! I'm so proud of him!


Math: Skip Counting 
Week 4: 7 and 8

 Week 5: 9 and 10

 Week 6: 11 and 12


Science:
Every week we did some worksheets that I downloaded from C3.
Week 4: Natural Cycles - Carbon and Oxygen, Water, and Nitrogen 
Week 5: Reactions to environmental change - Adapt, Migrate, and Hibernate
Something funny I have to share... This week we talked about some funny things like how Daddy shaves his hair short in the summer because it is hot and how Paw Paw Chuck grows his beard out in the winter to keep his face warm. 
Week 6: 6 forms of pollution

Latin
Week 4:
We repeated last weeks 1st Conjugation Imperfect Tense exercises (here)

Week 5 and 6:
1st Conjugation Future Tense cut and paste (with handwriting practice)

Tuesday, September 17, 2013

Blaine and Vivienne's Shared Bedroom Inspiration

We have a 3 bedroom house. I decided that right now is our only window of opportunity for the kids to share a bedroom and have a separate playroom.  I know they will not always be able to tolerate sharing a room together, so I'm taking advantage now. I am on tight budget for this project, as it is completely unplanned, unnecessary, and totally cosmetic... but thought I would share what I am doing. I have recently spent a dangerous amount of time on Pinterest, Ikea, and Ikea hacks websites and think I have finally decided on a direction.

My decision started with a photo I found on Pinterest (blog linked here)

I just love that each child's bed is gender specific but go so well together in the room without being overwhelming. After a lot of searching, I decided that I like pulling colors from each others bedding for added details. I love the bright colors, but this is a small bedroom (12'x9') that I will be working with, so I am little nervous. I have dedicated the larger bedroom as the playroom.  I have also already considered artwork, finding these adorable prints, sold here. I won't be buying these, because I did already have something else in mind,  but aren't they so cute?! I'm a sucker for an ampersand. 


As far as beds, I considered bunk beds to save on space, but have ultimately decided against it because of safety concerns with my wild sleepers. A big downfall of this small bedroom is that there is no way to do twin beds parallel to each other. So, they will have to be in an L-shape to make this work. I did stumble upon a really amazingly awesome and thrifty upholstered Ikea hack of the Fjellse bed. Only $39 for a twin... and it's a solid wood bed!  I will be purchasing these and more through Blue Bag in New Orleans. They offer cheaper shipping than buying directly from Ikea and you can order anything (instead of the limited selection available for online purchases). I will just have to send my wonderful husband uptown to pick it up!


I have ordered the bedding sets for both kids and am eagerly awaiting them so I can get started with this project. The bedroom walls are already painted Ralph Lauren - Toast and I won't be changing it, mostly because I just don't feel like painting and think it is a great neutral for what will be a very bright room. This swatch is funny looking, but this is what I found online to show as an example.


Hopefully I will be able to just touch up a few spots from previous screws and will not have to repaint. The crown molding, trim, doors, and ceiling are white and that might need a few touch-ups too.

Stay tuned for more details!

Thursday, September 12, 2013

Fall is in the air...not really. But it's on my door.

I have a dirty little secret. I am a closet craft hoarder. Before you envision a disgusting home overflowing with junk, I do literally mean closet craft hoarder. I have a small closet overflowing with junk. That's it. Don't judge me. I save scrap leftovers from projects. I save fabric swatches. I take apart older crafts and save the pieces. But the thing is... I use this stuff! I use it for gift wrapping, wreaths, parties, and more.

Enough about my guilty pleasure though.... I was recently talking to a friend about fall decorations, telling her I didn't have a wreath, but that I could probably make one just with stuff in my closet.

I did some digging and laid out everything I could find that I thought could possibly go together in a fall wreath. I even had a 16" straw wreath form... And 5 different types of burlap. I chose 3.
I found several different fabrics, ribbons, cords, flowers, lace trims, and buttons.
I don't really know at this point what pieces I will use or how I will use them, but I will figure it out as I go along.

I did have the most of the medium brown burlap, so I decided that would be my base. I think the fabric is usually 48" wide, but I cut into it for a previous project, so it was probably around 42". I cut three 6ish" strips.
I hot glued one side of the first strip to the back of the wreath form and started wrapping, overlapping about every 4 inches.
Each strip had to end on the back of the wreath form, so I would cut it and glue the next strip on top of it and continue wrapping.
Until the whole form was covered. Notice the part where the ends meet. I will strategically cover it later. Plan ahead!
I trimmed the stray strings.
And now have the base to start designing on. I played with a few fabric combinations and ultimately decided to do some bunting and burlap rosettes. I started with the bunting fabrics and made a triangle template. Originally I was thinking of using this ribbon, but it didn't bend the way I needed it to, so later I replaced it with a gold cord.

I kept having an issue with the fabrics. I needed them to be sturdier. In case of rain, it couldn't be cardboard or any other paper product. I looked around the house for something that might help and found (don't laugh) the lid to my newly emptied spinach container sitting on the counter. I traced the template on it and cut 5 triangles from the lid.
I hot glued the fabrics on the triangles, overlapping around the back.
See!

The burlap did require a lining, so I used some random cream and brown scraps that I had to make them more opaque. But here are my 5 pieces attached to the gold cord.
Onto the rosettes! I cut two 2" strips. The brown was longer because I didn't want 2 rosettes of the same size.
On a scrap that I saved from the burlap that I wrapped the wreath with, I twisted the strip and started hot gluing it down in a spiral. Twist, turn, glue, repeat.
Until I had this!
I just trimmed the stray pieces and backing until I had 2 rosettes.
Then I added centers and leaves. All of which came from a gold glittery floral piece. I took apart the flowers, using petals as leaves and reusing the centers. The backside of the flower petals were orange so I used some face up and some face down. I glued everything onto the rosettes and attached to the wreath.
And here is the final product!

So, I did pay for these materials at one point, but I'd prefer to say I whipped this wreath together for $0 and more importantly - 0 trips to the craft store! I love it!

Monday, September 9, 2013

MOPS!


I am so excited that MOPS is finally starting again. MOPS meets every other week for 2 hours. There is free childcare provided, breakfast, coffee, speakers and small group discussions. I joined this amazing group of women when Blaine was 1 and I was 3 months pregnant for Vivienne.  I was desperately searching for companionship with other moms.

I cannot express enough how much this group has changed my life. It was scary going through struggles of motherhood alone.  Exhaustion, postpartum depression, breastfeeding issues... you name it. MOPS has given me a support system that every mother should have. They have brought me dinner when I had a newborn. They have held my babies when I felt like I was about to cry or pass out.  They have helped with birthday parties. They have gone grocery shopping and running errands with me to help lend a hand.

If you're interested in joining - we have 2 different MOPS groups - night MOPS for working mothers (new this year!) and day MOPS for stay at home mothers.

Night MOPS starts tomorrow night from 6:30-8:30 at someone's home, so I won't be posting the address.  If you would like to attend, please get in touch with me and I'll send you the information!

Day MOPS starts THIS THURSDAY from 9:30-11:30. For more information - feel free to get in touch with me or click here.


Thursday, September 5, 2013

Homeschooling: CC - Cycle 2 - Week 3

This week is not over and we have not completed everything listed here, but I thought I would post anyway. 

History
Week 3: We learned about Eleanor of Aquitaine, Richard the Lion-Hearted, and the Crusades. Blaine did some coloring pages while I read and we made a sword and shield with cardboard, paper, and foil. 


Geography
Week 3: Western European countries - I made another puzzle (printable here). Blaine really seems to like these. I will probably do one every week. 


English
Week 3: Cut and paste activity


Art
Week 3: Upside down drawing activities. If you read this post, you will know that Blaine LOVED THIS drawing activity. He was so excited when he flipped the paper over and saw what he had drawn.


Math
Week 3: I have to be honest.  Blaine has a very difficult time with numbers.  We do our memory melodies and these cut and paste skip counting activities very quickly because I am still working very diligently with him trying to get him to do basic counting. He is showing some improvements, but math has always been a frustrating challenge. I'm open to suggestions.


Science
Week 3: Parts of the food chain. I googled some more random clip art and came up with this cut and paste activity. We took an unexpected trip to the aquarium and insectarium this week and seized the opportunity to learn hands-on about some consumers and decomposers.  Also, we talked again about week 2's topic of consumer types: herbivore, carnivores and omnivores.  We had fun guessing what each animal was by what we observed in their habitats. Our timing was perfect for a few exhibits, seeing the animals being fed.  Blaine will also play a food chain game that I found, available here. 

Seeming underground, in a dark room of the insectarium, I took the one and only picture of our downtown adventures. Here's Blaine on a huge worm... a decomposer!


Latin
Week 3: We are still learning verb conjugation endings - imperfect tense. Nothing fun to show. I did do a cut and paste activity and later we combined our Latin with handwriting exercises. Here are printables for both.  Our tutor came up with a cute pictorial available on C3 that Blaine enjoys and has been very helpful.


That's it!